SnipArc
SNIPARC / GUIDES
Start with your first capture.
Turn something on your screen into a clear explanation in a few steps.
Run SnipArc
For a portable build, extract the complete package before running SnipX.exe. The running app provides a tray entry. Check the release information for package availability and system requirements.
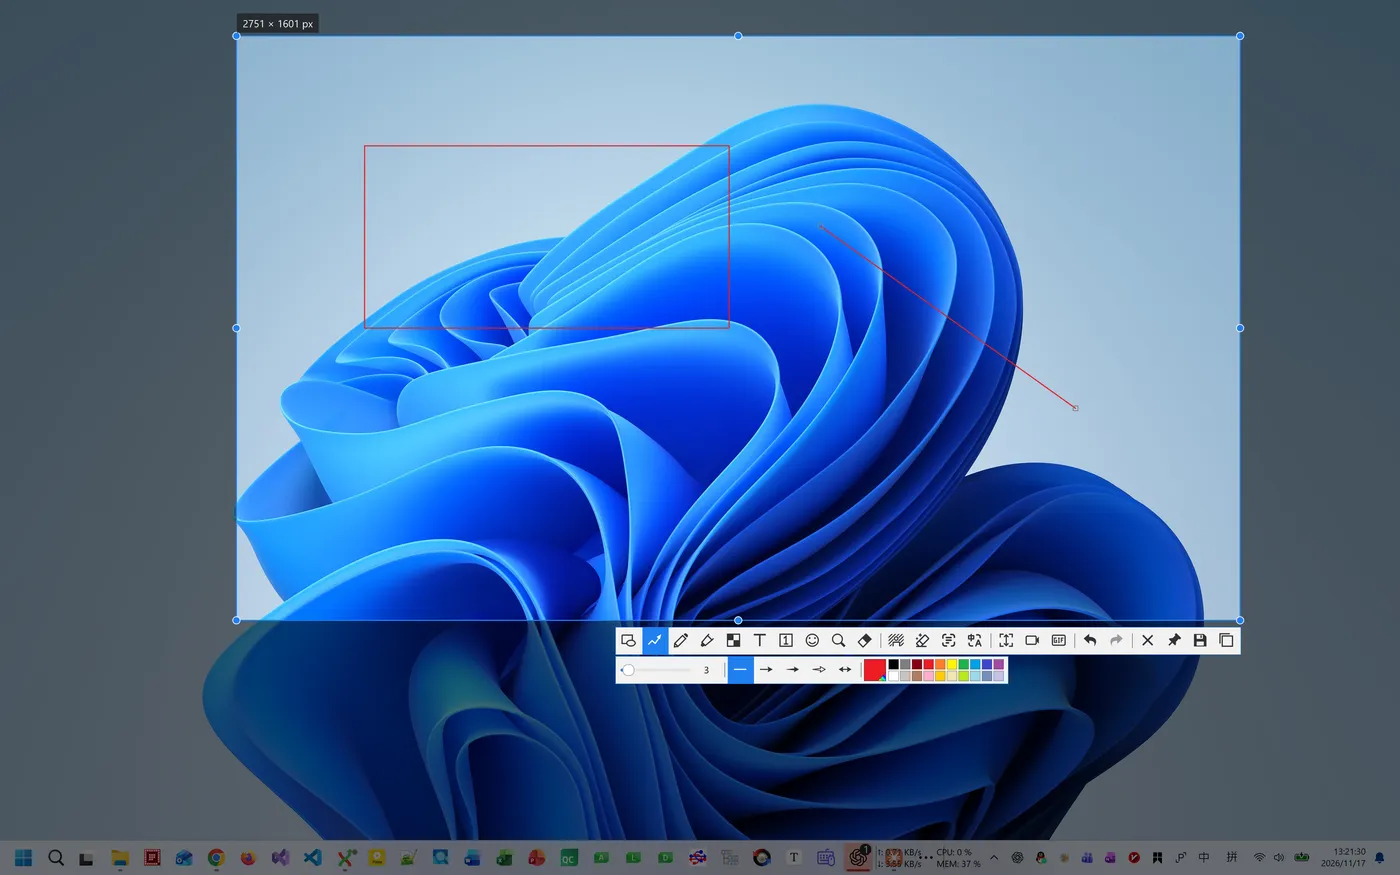
Press F1 and select a region
F1 is the default capture shortcut. Drag to select an area and check that its boundaries include what you want to explain. Use your configured shortcut if you changed it.
Mark the important detail
Choose a rectangle or arrow from the selection toolbar. Start with one or two clear marks before adding more explanation.
Copy or save
During a normal capture, press Ctrl+C to copy the image, or Ctrl+S to choose a save location. Text editing and OCR can change what gets copied; check the active tool.
Keep a reference close
After copying an image, press F3, the default paste shortcut, to pin the clipboard image to your desktop and keep it beside your work.